Grabbing Videos From Websites Using Movavi Screen Recorder

At some point or other you’ve probably watched a video on a website and wanted to save it – either so that you could watch it again later without having to re-stream it, or so you could transfer it to a different device. Needless to say saving videos from websites is rarely straightforward however, and most don’t really provide you with that option in the first place.
While there are several plugins and tools that you can use to try to grab videos off websites, most tend to have lots of limitations. In fact if you want to be able to save any video from any website there’s really only one foolproof way: Use a screen recorder such as Movavi Screen Recorder to record and save it from your screen.
How to Grab Videos From Websites
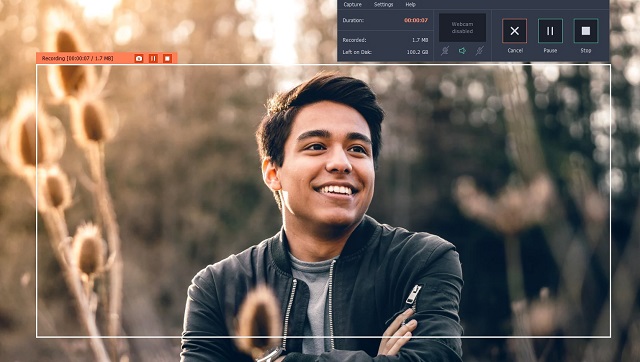
Part of the beauty of using Movavi Screen Recorder to grab video from website is that it is really straightforward and easy to set it up. If you’d like to give it a try, open a website with a video that you want to save but don’t play the video at first (or pause it if it starts to automatically play).To start setting up Movavi Screen Recorder to save a video from a website, launch it then immediately draw a frame over the video using your mouse cursor. After you do the software’s interface will appear and you can subsequently adjust the frame so that it fits better or use one of the preset sizes listed under ‘Capture Area’.
On the interface you should check that the ‘System Audio’ icon is highlighted, and the ‘Microphone’ icon is not – and click to toggle either if that isn’t the case. If you want you could set Movavi Screen Recorder to automate the recording by clicking on the ‘alarm clock’ icon and setting a timer or scheduling the recording.
When you want to start recording all you need to do is press ‘REC’ and play the video on the website after you do. The buttons on Movavi Screen Recorder’s interface will let you control the recording, and you can hit ‘Stop’ when the video is done.
By default Movavi Screen Recorder will automatically save the recording as an MKV video and open a ‘Preview’ window. In that window you can check the recording and remove any segments of video that aren’t needed. After you’re done (or if you want to save the video in a different format), you can click ‘Save As’.
All in all it shouldn’t take more than a couple of minutes to set up Movavi Screen Recorder and start to grab a video from any website. It has other features that may prove useful as well and will let you adjust the volume levels, set the frame rate, or capture keyboard and mouse actions. In short you could use it to record anything else that you want to from your screen, or even create your own video content.


No comments